Saturday, October 18, 2008

Moving shop...

Hello everyone. Niza here.
We have an important announcement to make. We're moving shop. We're planning to move out of our current store in Artly Design (Kiulap) and move into Liyana's house to do the business. So far we haven't moved out from Artly Design yet and we haven't fully set up store at Liyana's residence so we'll keep you posted on when we'll be moving store. Although you guys could still drop by Artly Design to grab our cards and brochures and the store there has a lot of cool shirts and self designed clothes to sell so, it's worth the visit too.

Wedding Bells Ring...

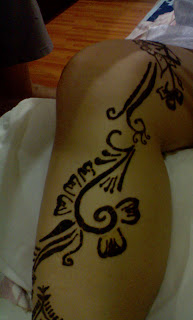
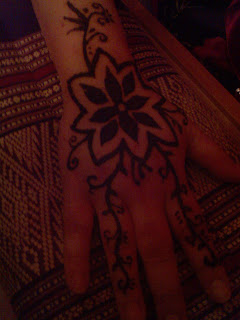
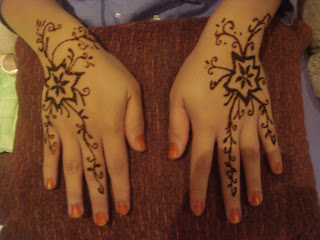
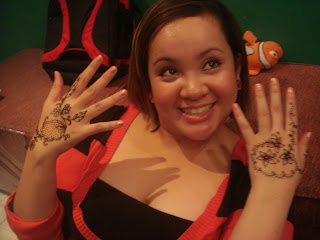
Hello again people! Niza here to bring another plethora of henna images!
As you can tell from the title, the next set of images are wedding package related. One of our regulars is getting married this Sunday 19/10/2008 and we were called upon to henna her with Wedding Package C and let's just say Lee decided to go all out. (^w^)

Also both Liyana and I would like to take this opportunity to congratulate our beloved regular on getting married! May you be blessed with happiness, health and wealth!


More Henna photos

Hello peeps! Niza here~
Finally got about to updating the site with some more pics. Enjoy~

This one is a tribal fox on a friend of mine named 'Fox' so we kind of have this joke that goes, "Fox on a fox." XD


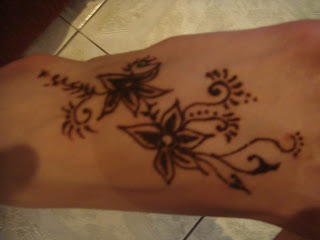
Was bored at the store one time so decided to kill time by henna-ing myself on my foot...


This design seems to be quite popular amongst the female customers...both me and Lee kinda wonder why though.


Was bored and decided to draw on my younger bro again. I just drew the design from the top of my head so it may look like a mix of things. XD


The same design from above, only this time I already peeled off the henna (after it dried, yes people henna will get dry and eventually crack so don't panic when you see it start cracking) and I took this I think about a day or so after I did the design on my foot. I liked how it turned out, pretty dark.


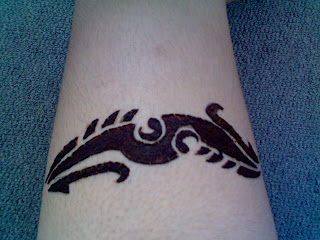
Did a random tribal design on my younger brother's hand. I thought of the design as I drew it so it might look a bit weird, lol.


The symbol for the zodiac, Aquarius


The symbol for the zodiac, Cancer


The symbol for the zodiac, Gemini


The character above means "love" and it is considered both Chinese and Japanese, and is pronounced in a similar manner, "ai". "I love you" in Chinese is - "Wo ai ni" and in Japanese it's "Aishiteiru".


A tribal dragon design that a customer asked me to draw. I think I made the tail end a bit too thick and out of proportion. XD But I still like how it turned out though. Cos despite how difficult or easy it is to draw dragon designs, I love drawing them since dragons are my most favorite mythological creatures.

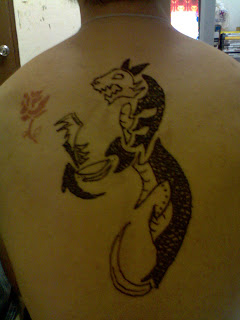
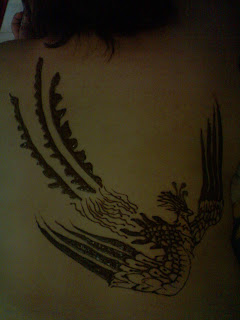
Large Designs: Bare Back
Both Lee and me were bored one night so guess what it was that we decided to do? We decided to henna our backs and we sure did! We both hennaed each other and went all out on how large we wanted the designs to be and we have to say, we're both pretty satisfied with the results. (^_^)v


The Vajra and Cosmic Fire design, a symbol of thunder and spiritual force from Tibet. I asked Lee to draw this design on me and it took about 30mins to 45mins to complete. The design didn't turn out to be too dark like how it would on the hands since the skin on the back is kinda different but if the both of us were to apply a second coating of henna after steaming, it'll prolly be even darker. But then again we were just experimenting and it's good to know how long we take to draw large designs. It's a bit easier drawing something of this scale especially if it doesn't have so much minute details and I'm hoping to maybe one day draw something of this scale on my customers (if they want lah).


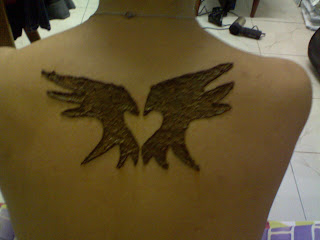
The Phoenix, a symbol of goodness and benevolence in Asia. Lee decided that she wanted a phoenix on her back and she really liked how it turned out. It took me about 30mins to 45mins as well to do this design and I couldn't really copy the original. What's different from the original is the amount of tail feathers and the dark feather tips, mine had less in comparison to the original. XD

Wednesday, September 17, 2008

Look for these signs!

Hello again peeps, Niza here! (^o^)/

In the previous post I wrote about our price range as well as our schedule. Currently during the month of Ramadhan we're kinda hardly at the store and we're basically doing a lot of on call appointments. Basically if you guys happen to pass by the store and happen to see the signs shown in the picture below stuck on the window of the store then you're in luck, it means that there's a henna artist available.


So if you happen to see the above signs pasted on the store's window, you can be rest assured that there's a henna artist available (or somewhere within the Kiulap premises). If you don't see it then there isn't a henna artist available at the store but you could always enter the store, take a card or brochure and contact any one of us and make an appointment on when and perhaps even where you'd like to be henna-ed.

That's all for now, have a good day and thanks for reading this blog. (^w^)v

Sunday, August 31, 2008

Price Range and Schedules

OK! Hello folks, Niza here. Our henna business has been running for a while now and we haven't even put up the price list for our henna services on this blog yet, so let's go about that. (^w^)

Henna services price list:

- Wedding Package A
This package includes the FULL set for the BRIDE meaning she'll get drawn on her hands, palms, arms, feet and legs. Plus 25 people will get a standard drawing on their palms or hands. This package costs $300.

- Wedding Package B
This package is similar to wedding package A, with the exception that instead of 25 people getting standard drawings it'll be only 10 people. This package costs $125.

- Wedding Package C
This package is similar to wedding package A, with the exception that it is only for the Bride. This package costs $100.

- Birthday Package A
This package offers standard henna designs for 20 guests and costs $200.

- Birthday Package B
This package is similar to Birthday Package A but for 10 guests and costs $150.

- Standard Hand Drawings cost $7

- Standard Palm Drawings cost $6

- Palm and Hand Drawings cost $12

- 1 Hand Up To Arm Drawings cost $12

- Small/Regular Designs (Custom) cost $5 - $7

- Large Designs cost $10 - $12

- Sole (Feet) Designs cost $7 - $20

Please note:
For the Wedding and Birthday packages, PLEASE give us 3 days to 1 week's prior notice. We're students and we kinda have our own lives to worry about as well as the business so informing us earlier will greatly help us.

And on to the next topic of interest, our timetable. As you probably know, we keep on getting customers when we're having classes at University. If you happen to come to the Artly Design Store in the morning, it's guaranteed that we won't be there because we have classes. We're usually free around the afternoons and nights but just because we say so doesn't mean we are always free. That's why we leave our handphone numbers on our cards, so you guys can contact us and tell us when and where you want to be henna-ed.

So this is what our henna schedule roughly looks like:
Mondays: On Call
Tuesdays: In Store from 2 - 6pm
Wednesdays: On Call
Thursdays: On Call
Fridays: In Store from 12 - 6pm
Saturdays: On Call

*On Call status means we won't be at the store but if a customer calls or texts us that they want to be henna-ed at the store, we would go to the store before the appointed time. We would also go to the customer's home to henna them but that is usually for wedding and birthday packages and henna designs that are on the back.

Well I guess that's all there is to it. We really appreciate our customers calling or texting us beforehand to make appointments to be henna-ed. So please do call or text us. For our numbers you can either call the Artly Design Store at 2233015 and ask for the henna artists' numbers or drop by the Artly Design Store and grab our brochure and cards. Thank you. (^w^)v

Sunday, August 10, 2008

Redza's Engagement


These are the photos of Redza's and her friends when we did her before her engagement ceremony on friday. They look great I think! :)

Wednesday, August 6, 2008

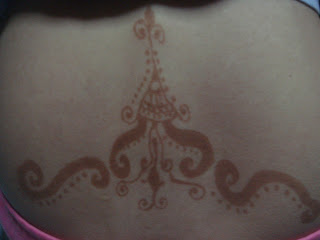
The punggung series!


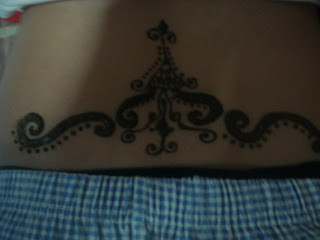
A lot of girls liked the punggung area with henna so I tested my sister's back, this is with only 1 STAIN, and not becuci until morning. So I hope you like it cos I liked it :)

Meep...?

Couldn't think of a good title, LOL XD.
Anyways, Niza here again peeps with some pictures of henna that I've been doing lately. Enjoy. (^w^)v


Another phoenix design, made with the help of transfer paper. I liked how it turned out.

A medieval Russian design from my friend's book of henna designs. I did it with pen first as a guideline and then inked it out with henna...lots and lots of it. XD

Saturday, August 2, 2008

The art of transfer paper

Heya peeps, Niza here! I've been experimenting with some transfer paper last night and I have to say I like the results.
Transfer paper is for those who don't wanna draw their henna free hand. With a transfer paper you can draw your design on a piece of paper, rub some transfer paper activator so that the ink on the transfer paper would stick onto your skin and use that ink as a guideline for your henna.

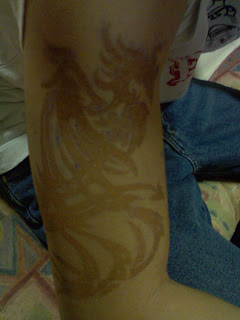
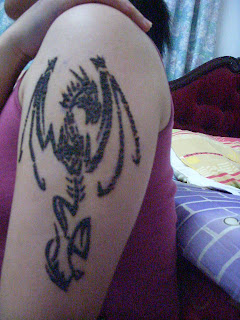
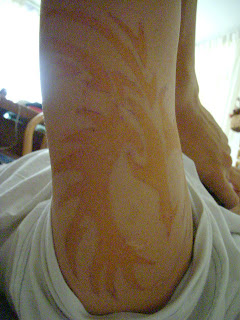
So I tried it out, made a tribal dragon design and pasted it onto my upper arm and followed the inky guideline. There were a few problems though like some of the transfer paper ink didn't get transfered onto the skin so I had to look at the original pic occasionally to see if there were any lines missing and another problem was due to my own fault...why did I have to put it on such a hard place for myself to draw. XD I learned that I could draw myself on my upper arm...but it hurts and luckily my lil bro was there to help me henna the areas where it was painful for me to reach. XD


Anyways, the pic above is what the design looked like when the henna's drying up. Some parts of the wings which were on the outer side of my arm was drawn by my lil bro cause it hurt for me to reach it.XD


And this one is what it looks like 12 hours later! Hopefully it'll grow darker and if it doesn't guess I have to henna it again. Eitherway I'm happy with how it turned out. (^w^)b

Friday, August 1, 2008

My experimenting canvas


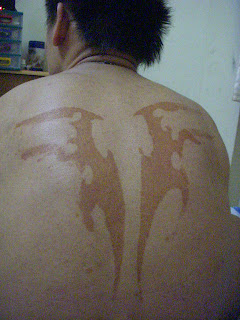
Made a tribal design on my younger bro's back. Honestly whenever I wanna do big works or experiment on the stain shades of my henna mix I would turn my younger bro into my very own 'experimenting canvas'. XD Poor kid but at least he likes it...well kinda, if the designs are nice.


Thursday, July 31, 2008

Rise of the phoenix

Catchy title, no? Actually...more like I couldn't think of anything else. XD

ANYWAYS, hello there again peeps! (^o^)/ Niza here and I'd like to talk a bit about my henna mix. My henna mix doesn't really produce the darkest henna stain in just one layer and it kinda takes a while for it to darken. So here is a time comparison of my henna mix.

For this one,the henna is just 4 to 6 hours into staining the body...


For this one, the henna is past 24 hours of staining the body and as you can see, it's a LOT darker than when it was within 4 hours. There are many factors that affect how dark the henna can be and for my mix it's:

- how I apply it
- how many times I apply it
- how long the henna is on you without it peeling off
- how long you can go without washing that area with water
- heat on the hennaed area
- your skin condition (some people just can't have the henna stick on their bodies for some reason...)

So don't be too surprised if after I henna you, the stain isn't darker. For my mix, it won't get dark immediately, so it's normal.(^w^)v

Tribal and Custom designs

Hello peeps, (^o^)/ Niza here and I'd like to share with you some pics of the henna I did on my friends and customers. I'm more into tribal designs and stuff but I do flowers as well but not as good as both Lee (Liyana) and Fiez. I also do custom designs, and usually I will tell you if I can or cannot do the design. Also unlike my two colleagues, I draw with a pen first (no worries, it's ball point so it won't poke ya or hurt ya...much... XD ) so expect to see some ink outline because I find it easier for me to draw with pen first. I kinda hate messing up what I'm drawing so, the pen is like a guide line to make me mess up less.


Experimenting with a wing design...


Experimenting with a tribal design that starts from the ankles and goes up to the knees, encircling the calf and shin...


Experimenting with a tribal design I got from a friend's wrist band...


A tribal phoenix on the upper arm area. I'm really happy on how this turned out.


A custom design a friend of mine made drawn on the lower arm area.


A smiley on my friend's upper arm area.


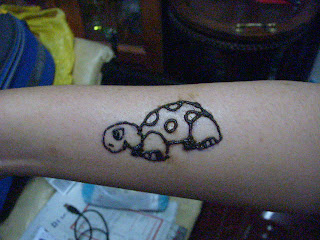
A turtle design on the lower arm area of a friend.


A mixed, custom artwork done by both me and Lee on our customer.It's done on the lower back area.